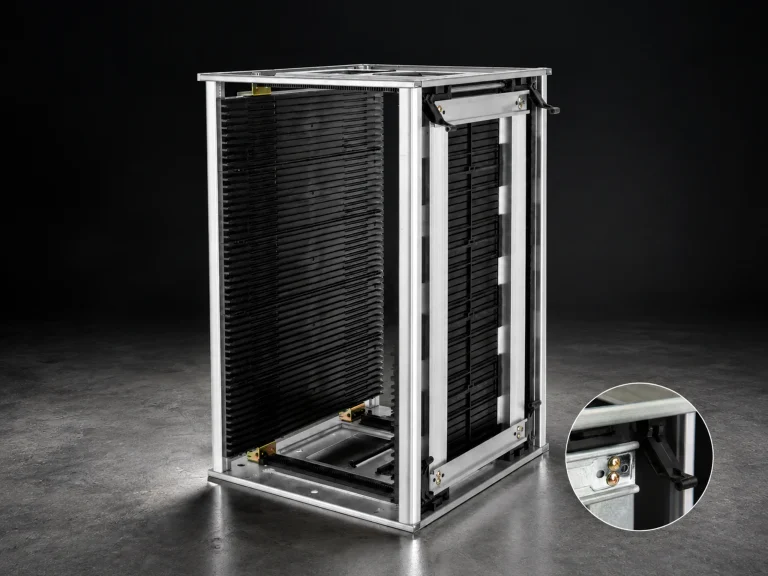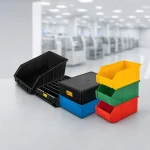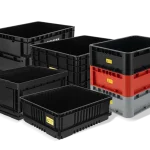
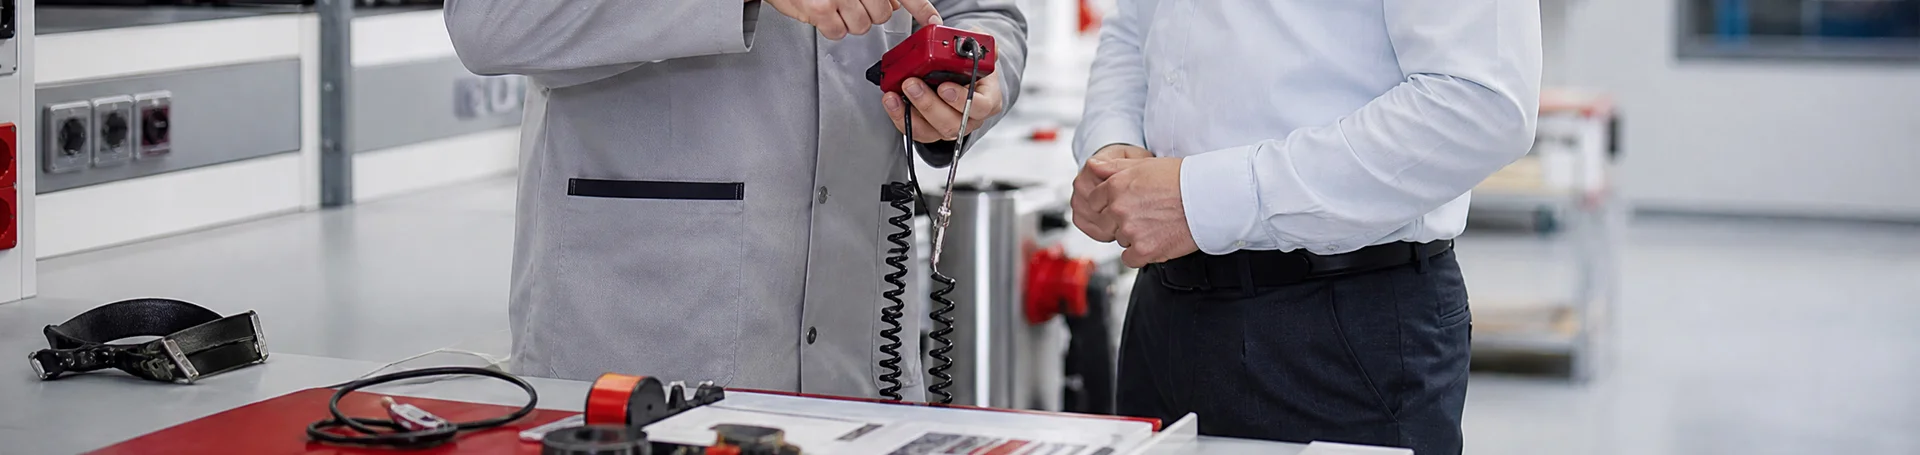

ESD insert rack systems are useful when printed circuit boards need separated, repeatable positions during storage and handling. The rack is only a good fit when its grooves, pitch, board envelope, capacity, labels, and movement route are defined together. A product photograph can show the family, but it cannot approve the loaded configuration.
Start with the board and the route. An ESD insert-rack should be specified as a loaded handling system, not selected from a photograph alone. Record the largest board envelope, edge features, thickness range, orientation, quantity, access direction, and the points where a handler will lift or transfer the rack. Then ask for the drawing and evidence for the exact rack family that will be supplied.
1. Match the ESD insert-rack to the board envelope
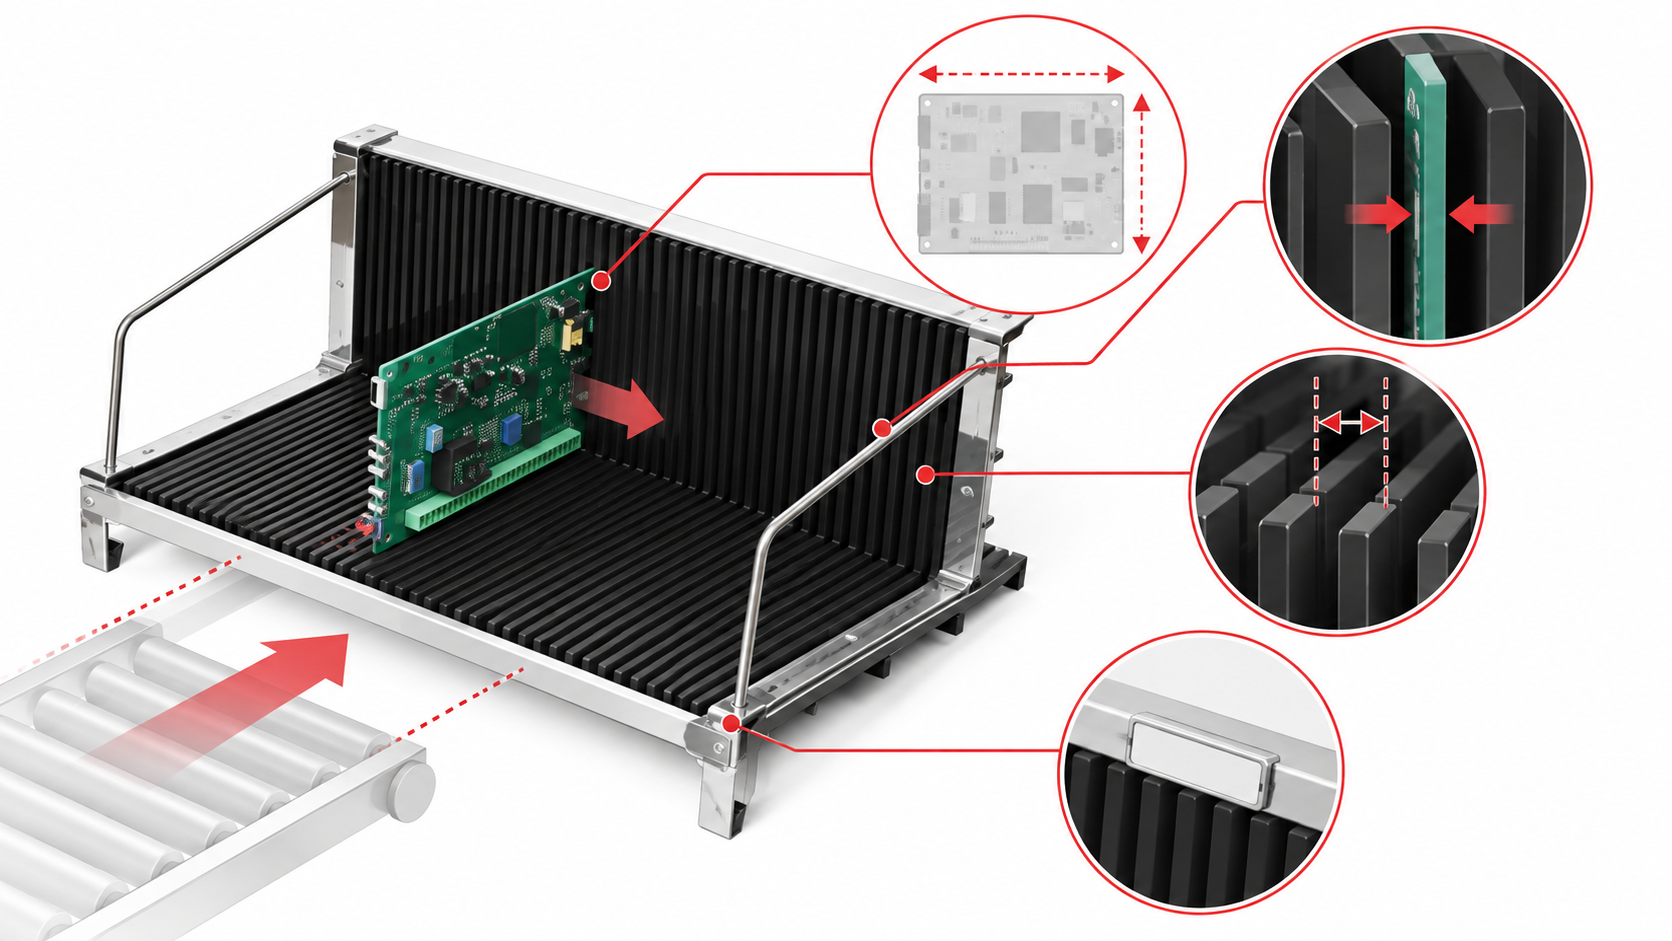
An insert rack separates boards through grooves or slots. That separation is useful only if the board enters without forcing, remains visible, and cannot contact an adjacent board during normal movement. Check the usable opening, groove width, pitch, slot count, edge support, and any clearance needed around connectors or protruding parts. If the board is sensitive to bending or rubbing, include that handling condition in the sample review.
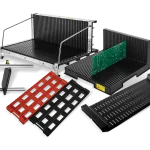
The CH-ESD ESD rack product page lists named rack families with model-specific dimensions, grooves, pitch, slot structures, and optional accessories. The separate PCB storage rack page also presents model-specific choices. Use those pages to identify a candidate family, then keep every dimension tied to the model under review rather than transferring it to another rack.
| Input to confirm | Rack decision | Acceptance check |
|---|---|---|
| Board envelope and edge features | Groove opening, support, and clearance | Loaded board enters and leaves without force or contact |
| Quantity and sequence | Slot count, pitch, and orientation | Operator can identify the next board without moving unrelated boards |
| Access direction | Front, top, or side handling path | Hands or approved tools reach the board without twisting the rack |
| Labels and revision control | Label position and rack identification | Board family, lot, or work order remains traceable during transfer |
| Route and handoff | Cart, shelf, bench, or enclosed outer container | Loaded rack stays stable and readable through every handoff |
2. Choose capacity and access from the work sequence
Capacity is more than the number of grooves. Decide whether one rack represents a lot, a work order, a process stage, or a temporary holding point. A high slot count can be inefficient if operators must search for the correct board or if the rack becomes difficult to carry safely. A smaller rack may be easier to identify and move, but it may increase replenishment or transfer touches.
Define the normal access action before approving the rack. Will a handler remove one board from a fixed shelf, carry the rack to inspection, or move it between a receiving area and a line-side station? Note whether boards are loaded from one direction, whether the rack is stacked or placed in an outer container, and whether labels can be read while the rack is full. These details determine whether the candidate rack supports the real workflow.
Treat ESD evidence as a configuration question. NASA-STD-8739.6B and ANSI/ESD S541-2026 provide general context for ESD protective packaging and handling; they do not certify a CH-ESD rack. Ask the supplier to identify the applicable material, test basis, conditions, and configuration for the offered model.
3. Build a rack decision from the route
For a fixed shelf, prioritize readable identification and stable insertion. For a line-side station, prioritize frequent access and a layout that makes missing boards visible. For repeated movement, confirm the rack can be carried or placed in the required outer container without the boards shifting. If a rack travels through uncontrolled areas, define the handling instruction and any additional enclosure or work-surface requirement rather than assuming the rack alone controls the full route.
4. Request and approve the exact rack
Send the supplier one usable request: board drawings or envelope, quantity, orientation, edge restrictions, slot or groove preference, labels, route, loading method, and the ESD evidence required by your process. Ask for the exact model number, drawing revision, dimensions, material, groove and pitch details, accessory list, and test information. If the supplier proposes a family with several named models, request a separate confirmation for the selected model.
- Load the largest and most fragile approved board, then check insertion, removal, clearance, support, and visible identification.
- Run the normal pick and transfer sequence with the rack full and partially full; record any reach, twist, or collision issue.
- Check labels, lot separation, work-order ownership, and the rule for an unidentified or damaged board.
- Move the loaded rack through the shelf, cart, bench, and handoff points that occur in the real process.
- Freeze the approved model, drawing revision, material evidence, route instruction, and sample result together.
Recheck the rack when the board envelope, quantity, groove layout, material, label method, outer container, or route changes. A rack selection is complete when the loaded sample and the supplier evidence agree with the work instruction. Keep the approved sample or a documented reference configuration available for receiving and operator training.
References
- NASA-STD-8739.6B — ESD protective-packaging and handling context.
- EOS/ESD Association: ANSI/ESD S541-2026 — packaging properties across production, transport, and storage.
- NASA NEPP ESD handbook overview — general ESD control and packaging context.