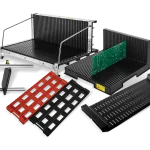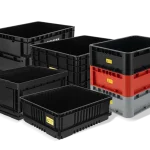


The phrase bin ESD describes a family of storage formats, not one correct shape. The right choice depends on how operators identify, reach, replenish, and separate components. An open bin can support fast visual access, while a front-opening, drawer, or round format can solve a different organization problem.
Use the CH-ESD ESD Bin category as the starting family page, then compare the named product route against the actual component envelope and workstation. Dimensions, wall details, resistance, temperature options, and accessories remain model-specific.
1. Compare ESD bin access patterns for bin ESD workflows
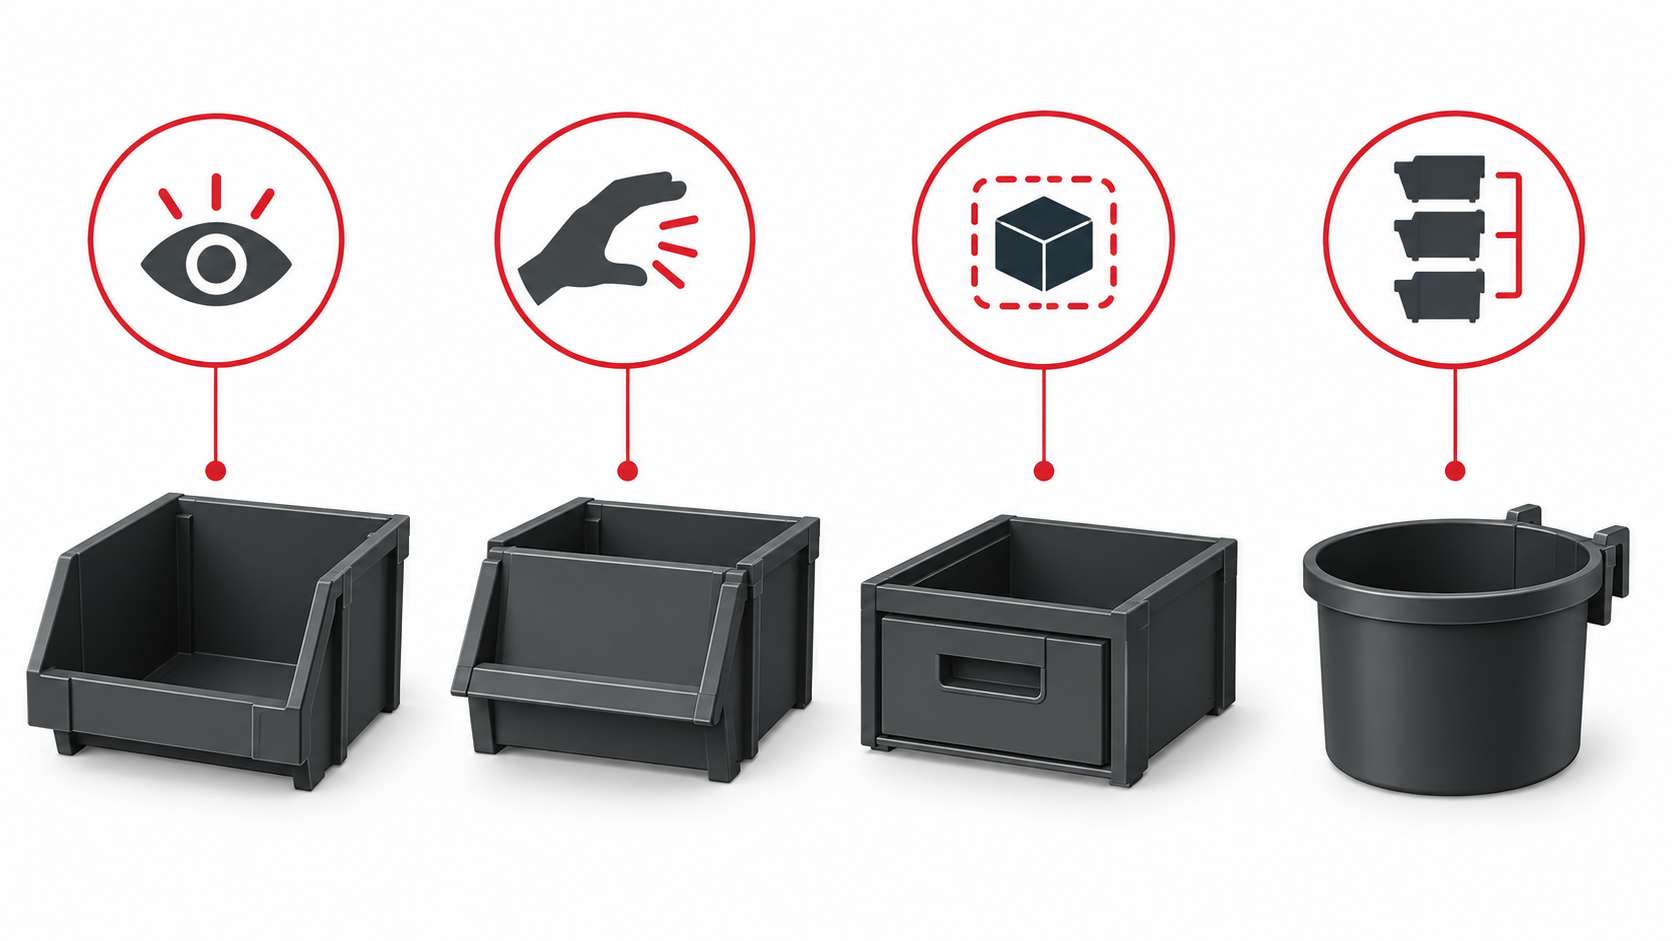
Access is the first decision because it controls the operator’s reach and the chance of mixing parts. A general component bin suits a straightforward pick-and-replenish route. A front-opening bin can keep the front face as the normal access point on a board or hanging panel. A drawer format contains a small group and gives the operator a defined pull-out motion. A round bin can suit a compact hanging or stackable organization pattern when the item shape and route support it.
| Check | What to confirm |
|---|---|
| Open component bin | Use when visual identification and repeated top or front picking are central. |
| Front-opening bin | Use when the bin sits on a panel, shelf, or rack and the front is the reach path. |
| Drawer bin | Use when small groups need contained retrieval and clear separation. |
| Round bin | Use when a compact hanging or stackable format fits the component and workstation. |
The category links these four routes directly. The named pages add different evidence: the component-bin page lists slots, stacking, covers, partitions, and several model sizes; the front-opening page lists hanging, stacking, and left/right connection; the drawer page lists dividers, modular interlocking, and drawer organization; the round page lists compact round models with hanging and stacking options.
2. Match the bin to the component envelope
Measure the component or package that actually enters the bin. Record length, width, height, quantity per bin, whether items are loose or bagged, and whether a divider or cover is needed. Leave enough working clearance for the operator to remove one item without disturbing adjacent parts. The useful measurement is the inner usable space, not only the advertised outside dimensions.
For a drawer, record the drawer opening and internal space separately. For a front-opening bin, check the front lip, label position, and the panel or shelf interface. For a round bin, check the opening, depth, hanging point, and whether the circular format makes counting easier or harder. Never transfer a size from one model family to another.
3. Build organization into the selection
An ESD bin works as part of an inventory system. Decide how labels will face the operator, how similar lots will be separated, whether bins will stack or connect, and how replenishment will happen. The product pages mention optional labels, covers, partitions, slots, digital counters, or connection features on named formats. Ask which accessory belongs to the selected model and whether it changes the usable space.
Test the chosen format with representative parts before freezing the bin family. Check the usable opening, pick and replenish motion, label visibility after stacking, and the change in access when a cover or divider is installed. Repeat the check with a new lot or package state so the chosen bin does not work only for one sample. Record the accepted model and accessory combination with the workstation location.
During replenishment or a lot change, confirm that labels remain visible and that the selected divider, cover, or counter does not reduce usable space. Define who removes obsolete labels, how empty bins are identified, and how bins are cleaned before reuse. These operational details protect the organization method without assuming that one accessory fits every named model.
The ESD requirement also belongs in the request. Define the operating area, handling route, and evidence needed for the material or configuration. The EOS/ESD guidance helps define the control boundary, but it does not turn every bin into a certified package or prove a universal result.

4. Use a short comparison request
Send the supplier the component envelope, access preference, storage position, quantity, label method, divider or cover requirement, and route. Request the exact model code, inner dimensions, material or ESD evidence, accessory list, drawing revision, and sample or approval method.
- Start at the ESD Bin category and choose an access pattern before choosing a model.
- Review the front-opening bin when the front face is the normal pick path.
- Review the drawer bin when containment and small-group organization matter.
- Use the round bin route only after checking opening, depth, hanging, and stackability needs.
The final comparison should be made at the workstation, not only in a product list. Place representative parts in the proposed bin, ask an operator to pick and replenish them, and check whether labels remain visible after stacking or connection. This simple trial can reveal that a larger bin reduces search time, or that a smaller divided format prevents mixing more effectively. Record the accepted model and accessory combination.
References
- EOS/ESD Association: ESD Fundamentals, Part 3 — ESD control procedures and materials.
- EOS/ESD Association: ANSI/ESD S541-2026 — packaging properties and test-method context.
- IEC 61340-5-1:2024 — ESD control-program requirements.