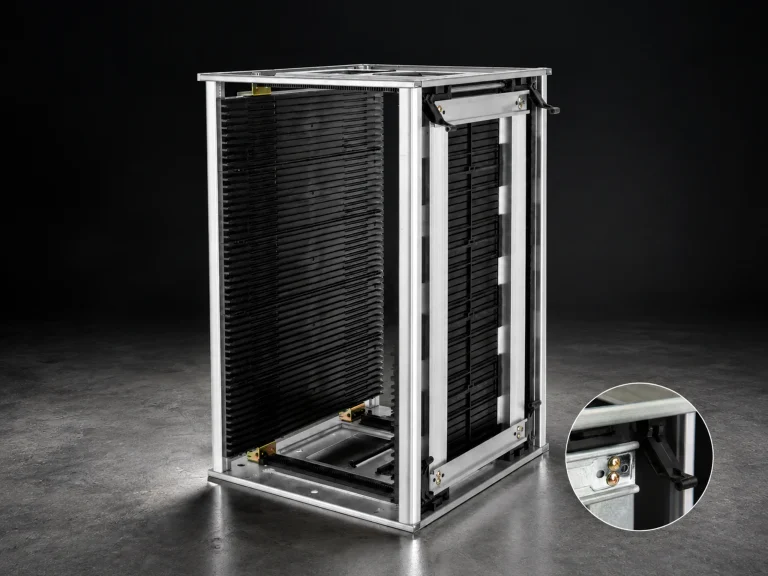


ESD shelving is a system decision: the shelf, rack, containers, grounding path, labels, and operator route must work together. Choose the frame by load and reach first, then verify how the stored items and conductive components are connected or controlled in the actual installation. A rack that looks suitable in a catalog is not evidence of a safe installed configuration.
1. How to plan esd shelving around the work route
Record what will sit on each level, the largest container or board carrier, approximate load, replenishment route, and the normal reach direction. A rack for boxed components has a different access pattern from an ESD magazine rack for PCB panels. Leave room for labels, hands, and removal motion. Check the worst case: the highest normal pick, the lowest container, and a full shelf during replenishment.
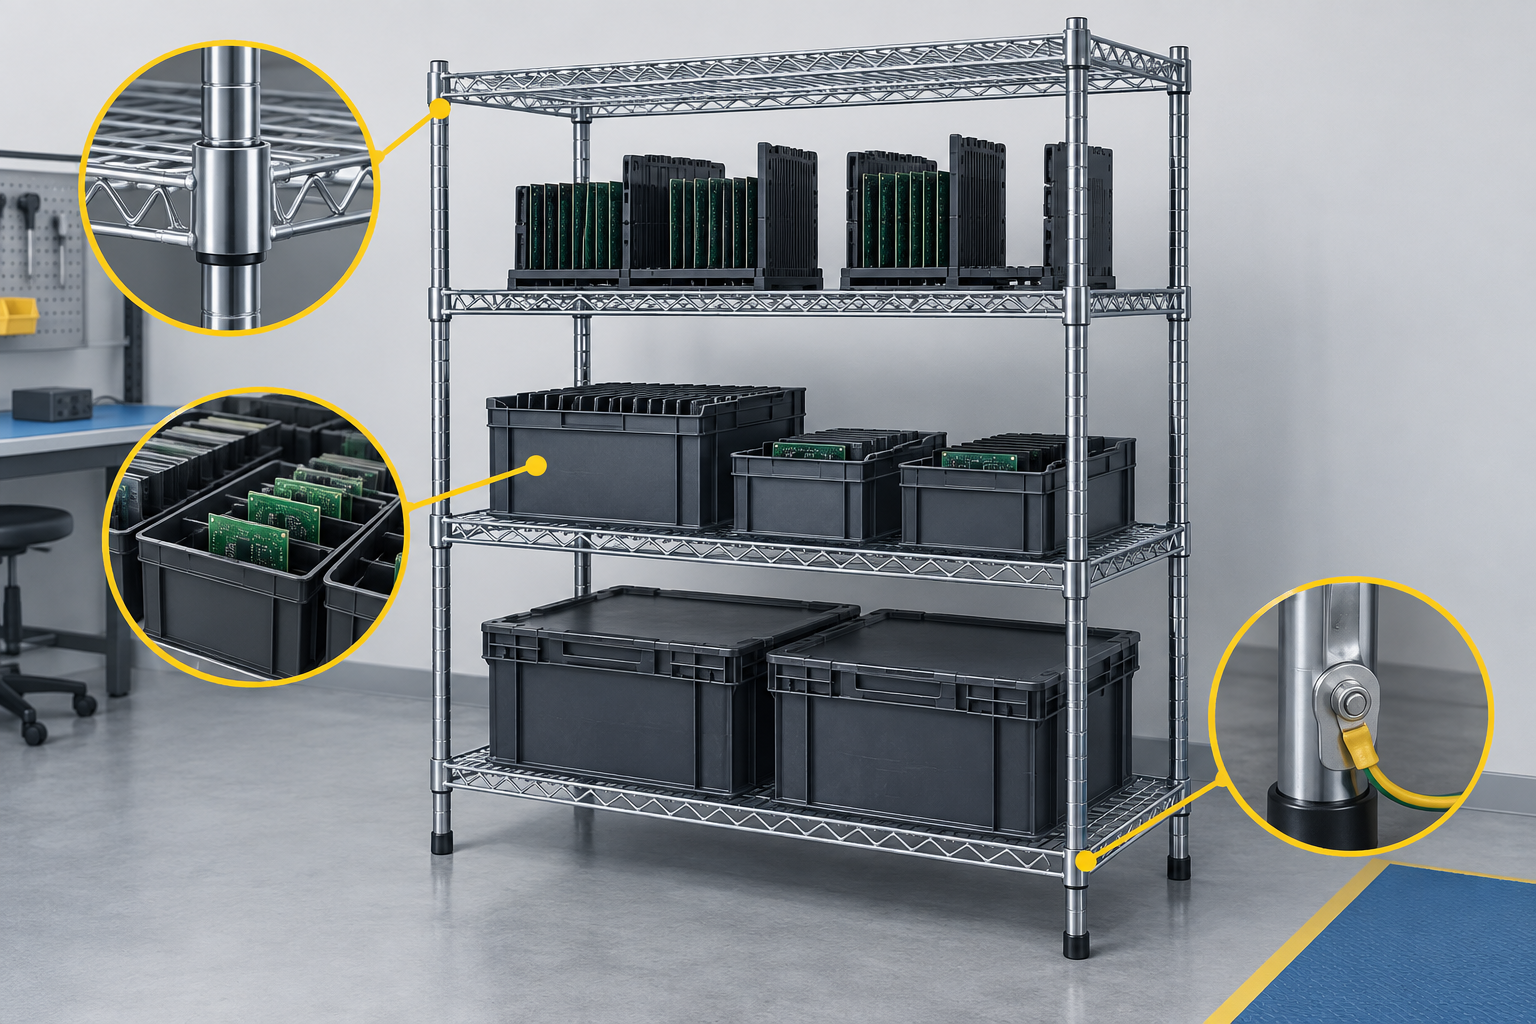
2. Verify the grounding and material path
Ask how the shelf, rack accessories, containers, and any carrier are intended to participate in the site ESD-control program. Confirm the material description, connection points, resistance evidence, installation instructions, and the test point used for the stated result. Do not infer that a metal frame automatically proves a complete grounding path, or that an ESD label applies to every accessory installed on it.
3. Lay out racks for separation and visibility
Use the rack layout to keep product families, lots, and process stages visibly separate. Set a consistent label face and reserve a clear route for replenishment. If racks hold trays or magazines, check slot pitch, panel support, insertion depth, and the force needed to remove a loaded carrier. If bins are used on the same frame, match the container opening to the operator’s reach and prevent a divider, cover, or rear stop from blocking the intended pick face.
4. Prepare a supplier and installation checklist
Send the bay dimensions, level count, load by level, carrier or container type, access side, floor or wall condition, labeling method, and quantity. Request a drawing, material and coating description, grounding or bonding instructions, accessory compatibility, load information, and a proposed verification method after installation. Use the CH-ESD ESD Rack route as the product-family starting point, then approve the exact configuration after a physical fit and site check.
- Start with the CH-ESD ESD Rack family for the storage route.
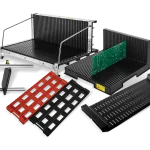
- Where PCB carriers are the stored unit, compare the conductive PCB magazine rack route with the actual carrier dimensions.
After installation, verify the rack in the position where it will actually be used. Check that containers can be inserted and removed without striking adjacent levels, that labels remain readable when the bay is full, and that the intended grounding or bonding connection is accessible for inspection. Record the rack layout, accessory list, connection points, and verification result with the installation date. A repeatable record is more useful than a general statement that the frame is conductive.
For a line-side route, also check the movement between storage and the workstation. A shelf that works at rest may become difficult when a loaded carrier must be turned, lifted, or passed through a narrow aisle. Approve the layout with a representative carrier and normal replenishment load, then freeze the drawing and accessory combination used for later bays.
When comparing ESD racks, distinguish a frame for general containers from a circuit board storage rack designed around a carrier or magazine. The access side, pitch, support surface, and insertion depth can change the safe and efficient route even when two frames have similar outside dimensions.
For multiple bays, duplicate the approved ESD racks layout only after checking the floor condition, connection method, carrier load, and label position at the new location. Keep the drawing and verification record with the bay so a replacement or expansion does not rely on a generic catalog description.
If the storage route changes between receiving, inspection, and production, document the handoff points as part of the layout review. The same container may need a different shelf height or label face at each station. Treat the route as part of the specification and confirm it with the people who will replenish and pick from the rack.
References
- EOS/ESD Association: ESD Fundamentals, Part 3 — ESD control procedures and materials.
- IEC 61340-5-1:2024 — ESD control-program requirements.
- ESD Center: ESD shelving — example of a shelving reference in the current SERP.