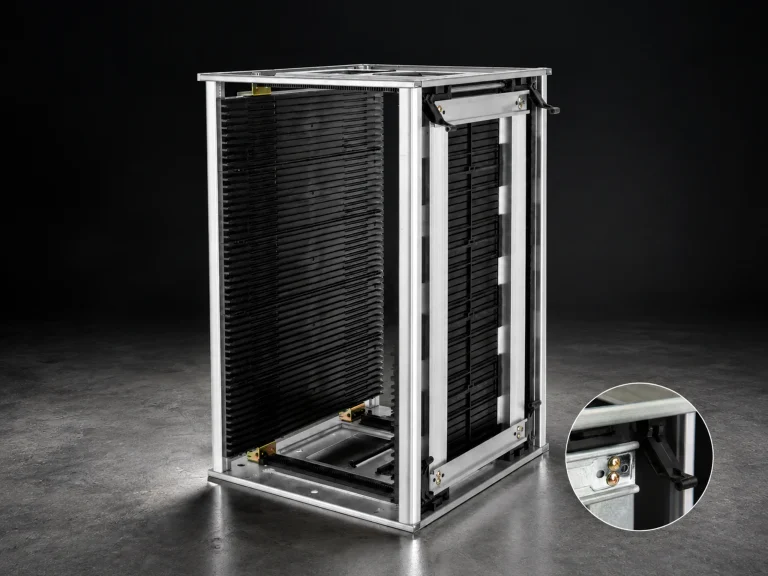

Selecting an ESD tray for PCB handling is a fit and workflow decision. The tray must support the board or component without forcing a damaging reach, while its cavities, grid, surface, and route must match the work around it. A tray that fits one board can still create mix-ups or handling problems if the loading and transfer method is wrong.
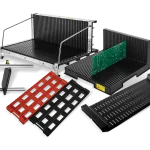
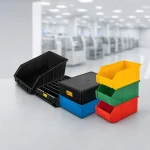
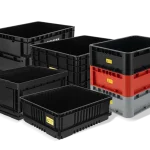
The CH-ESD ESD Tray category gives several routes: multi-size trays, detachable-grid trays, EVA trays, logistics pallets, and IC JEDEC trays. Use the category to identify the family, then confirm the exact inner geometry and process evidence on the named model page.
1. Define the board or component envelope
Measure the PCB, panel, or component package that will sit in the tray. Record length, width, height, edge features, orientation, quantity, and the clearance needed for loading and removal. If the tray carries several items, define the separation rule and whether each cavity must be visually identifiable.
| Check | What to confirm |
|---|---|
| Fit | Inner length, width, depth, edge clearance, orientation, and the largest accepted part. |
| Support | Flat base, cavity, grid, divider, or knife-card requirement. |
| Route | Bench, inspection, SMT station, rack, cart, warehouse, or transport between areas. |
| Process | Loading method, cleaning, temperature exposure, stacking, and label needs. |
| Evidence | Model code, ESD property, test basis, drawing revision, and sample approval. |
The detachable-grid page lists QD-9805112 and related models with model-specific inner and outer sizes, grid arrangements, covers, labels, and partitions. The multi-size page lists additional models with different inner dimensions, wall or base notes, accessories, and temperature options. Keep these values attached to the exact model; do not turn one tray’s dimensions into a category-wide promise.
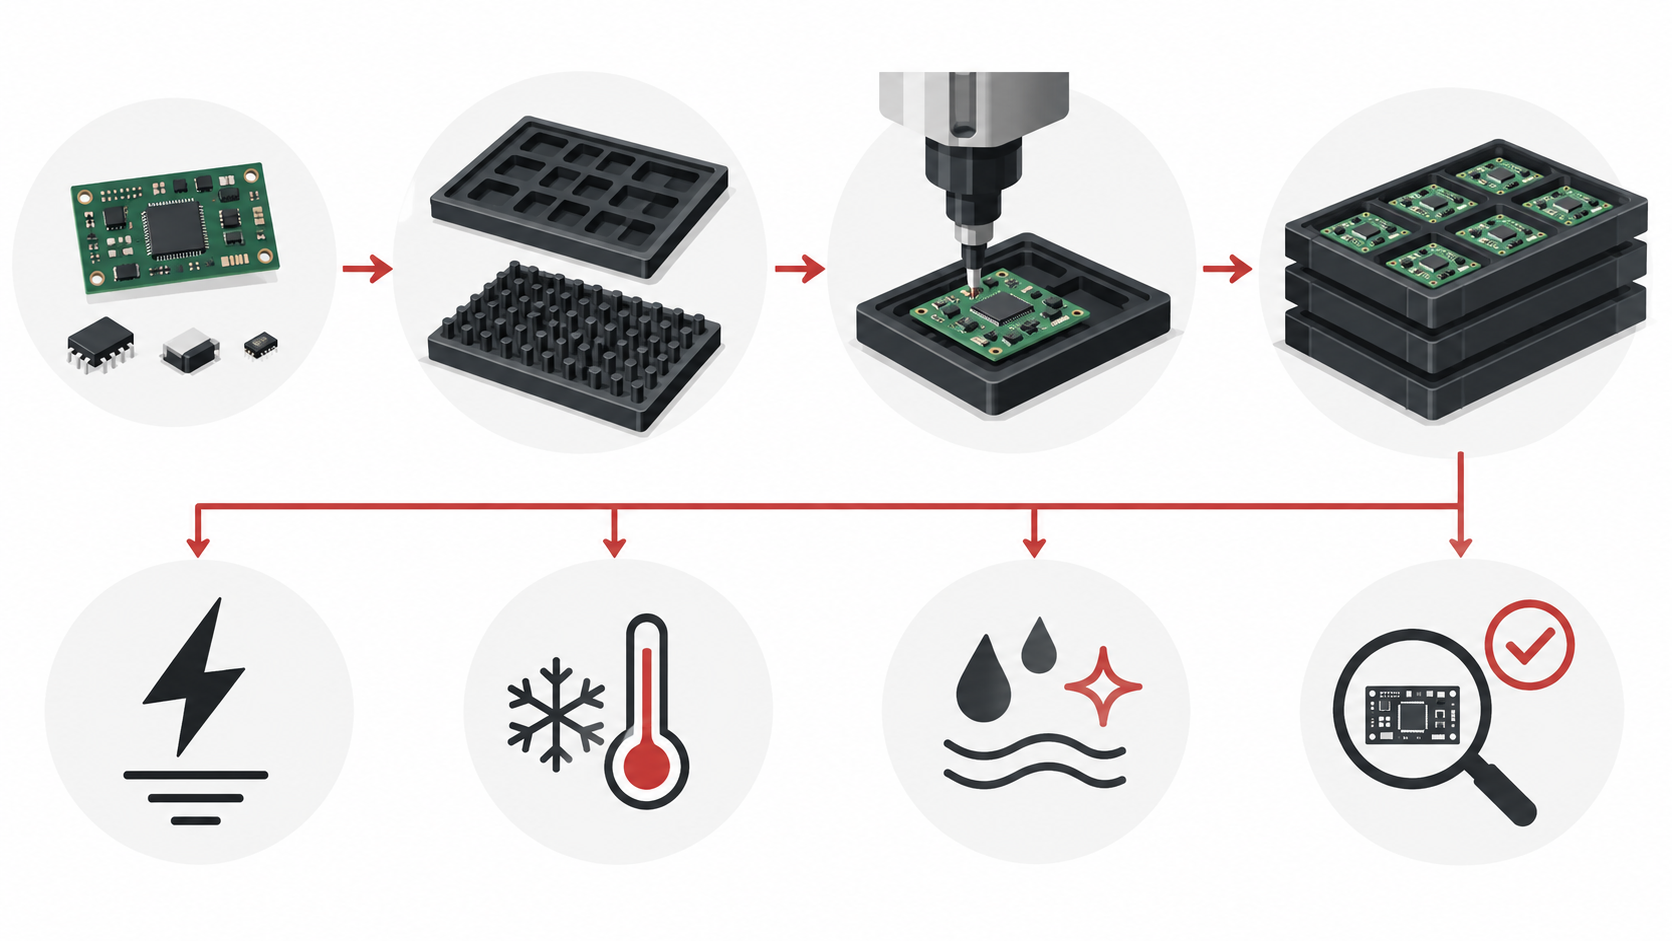
2. Choose an ESD tray for PCB cavity or grid logic
A flat tray supports a different task from a grid or cavity tray. Grids can separate parts, support counting, and reduce contact between items. A detachable grid adds flexibility but also creates an extra component to inspect and clean. A fixed cavity can improve repeatability when one part family always follows the same route. Choose the structure from the process, not from the number of cells alone.
Check the bottom and wall relationship, corner access, lid or cover option, label position, and how a loaded tray will be stacked or transferred. If the tray goes into a cart, verify the tray envelope against the cart support rather than assuming the category names are interchangeable.
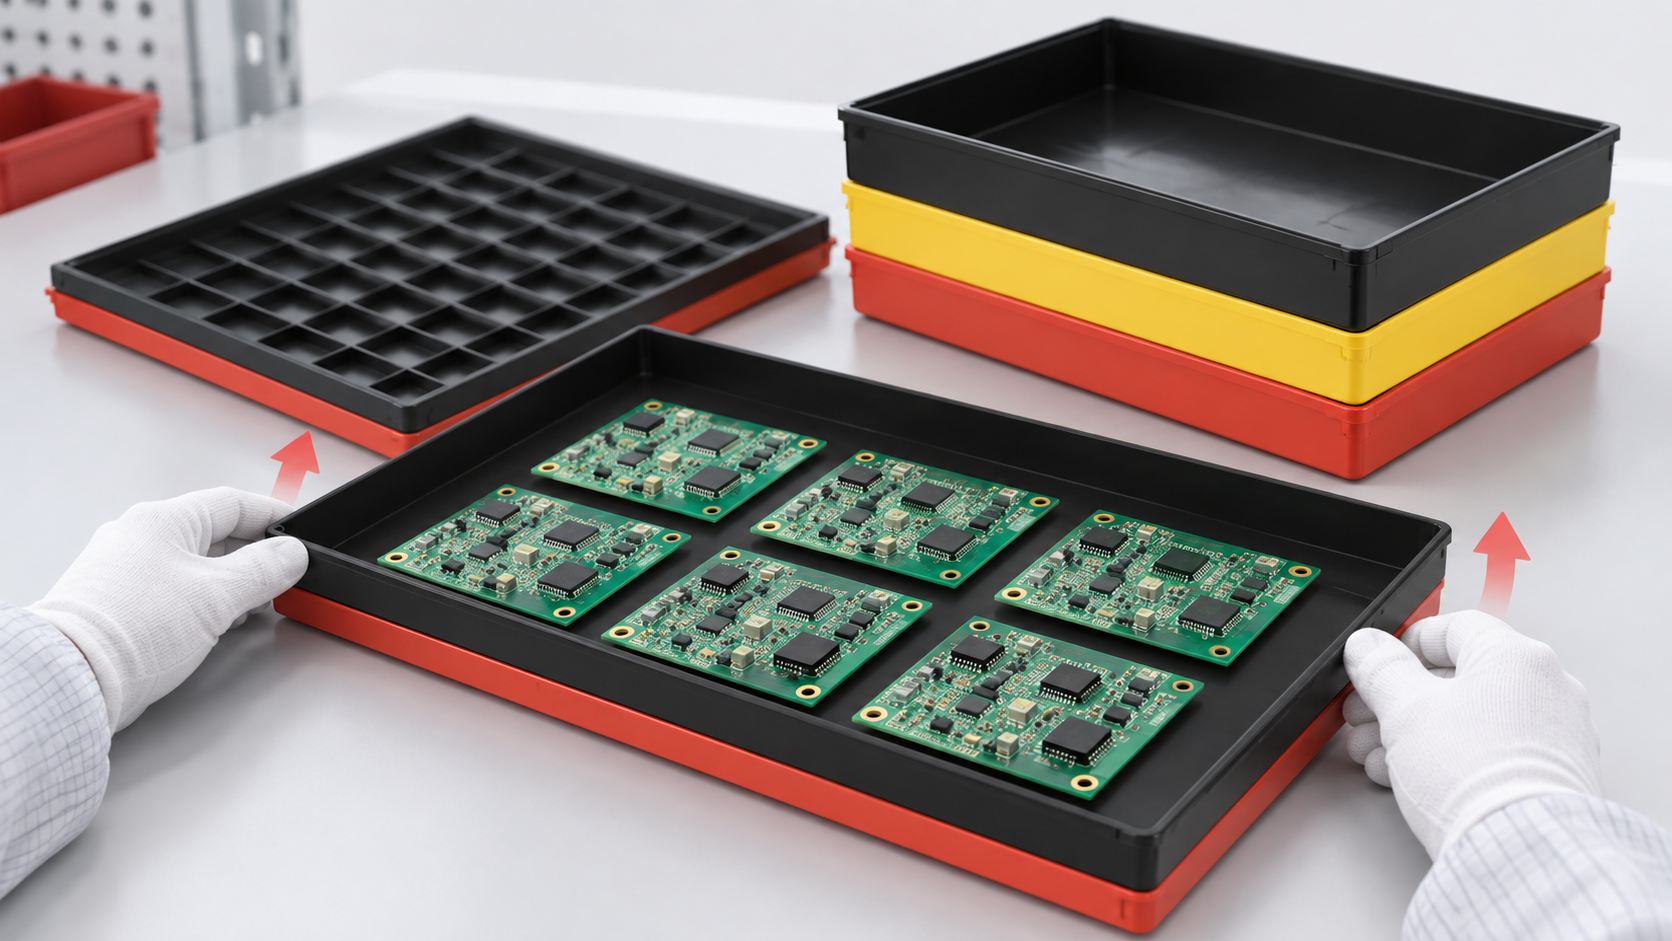
3. Connect the tray to the SMT route
Map the handoffs: incoming material, kitting, SMT or assembly, inspection, rework, and storage. At each handoff, record who loads the tray, where it rests, how it is identified, and whether an operator must lift, slide, or carry it. The ESD Trolley category can be a separate route for moving trays between stations, but it does not determine the tray’s inner fit.
The sample should follow the real handoff sequence. Load the largest board or package, move the tray through the station, check stacking if it is used, and repeat the operation after cleaning. Record clearance, grid retention, label visibility, cover interference, and configuration revision. Ask the supplier to identify which temperature or cleaning option belongs to the exact model instead of treating an option listed on one model as a promise for every tray.
Include cleaning and temperature questions in the request when the process needs them. Ask which material, temperature option, cleaning method, and reuse condition apply to the exact model. ESD evidence should include the offered configuration and its test basis, not only a generic product-family label.
4. Approve with a model-specific sample
A complete request names the largest board or component, cavity or grid requirement, route, quantity, labels, stacking, cover, cleaning, temperature, ESD evidence, drawing revision, and sample test. Use the multi-size tray route and the detachable-grid route as distinct comparison paths, then approve one exact configuration.
- Start with the ESD Tray category and identify the family that matches the handling task.
- Check the board or package envelope against the named model’s inner geometry and support structure.
- Verify the handoff route separately with the station, rack, or ESD Trolley.
- Request current ESD, temperature, cleaning, drawing, and sample evidence before production use.
The sample check should follow the real handoff sequence. Load the largest board or package, inspect edge clearance, move the tray through the station or cart, stack it if that is part of the process, and repeat the operation after cleaning. Record any contact points, label visibility problems, loose grids, or cover interference. Approve the exact model and configuration only after those observations match the written request.
For PCB work, the tray decision should also include the next operation. If the board moves to inspection, rework, or a test fixture, record the orientation and the clearance needed for the operator or tool. If components share one tray, define whether the grid separates part numbers, lots, or process stages. This prevents a visually tidy tray from becoming an identification risk.
References
- EOS/ESD Association: ESD Fundamentals, Part 3 — ESD control procedures and materials.
- EOS/ESD Association: ANSI/ESD S541-2026 — packaging properties and test-method context.
- IEC 61340-5-1:2024 — ESD control-program requirements.